10 Tips for an Athletic Pelvic Floor
Oct 17, 2026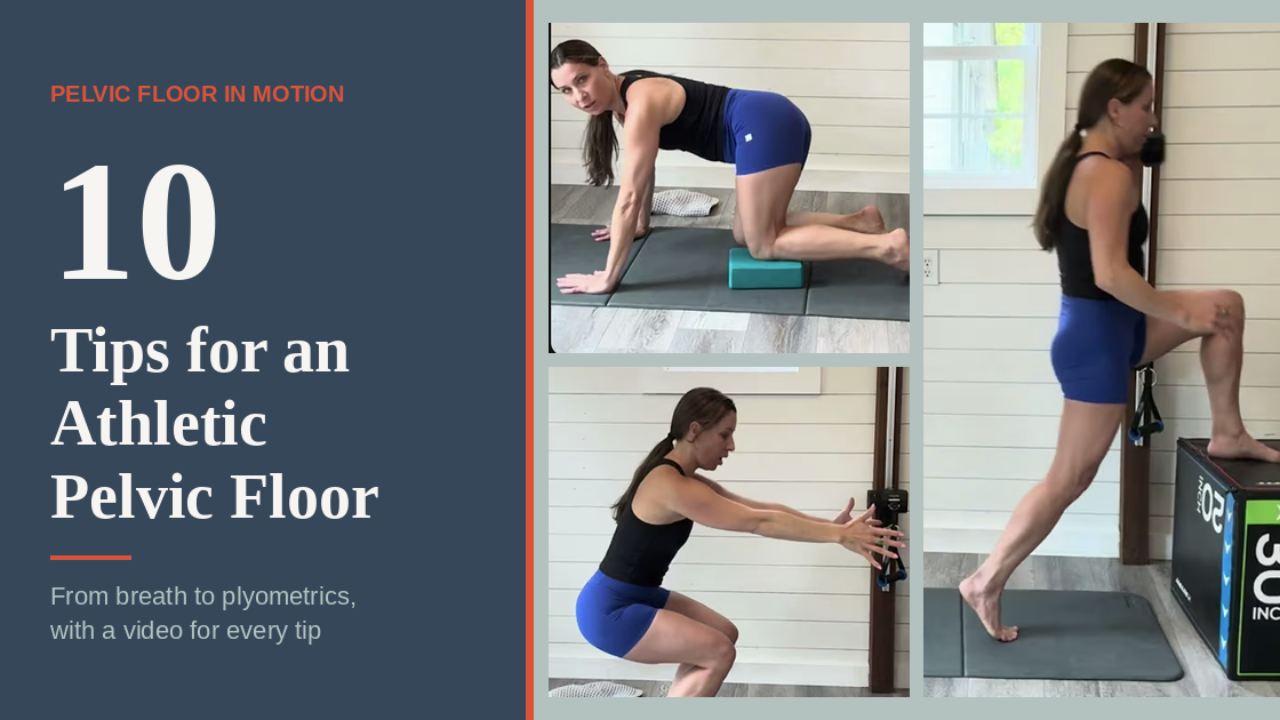
Most pelvic floor work stops at the floor. Breathing drills, kegels, and gentle rehab exercises all have their place, but on their own they rarely get someone back to lifting, sprinting, and jumping with confidence.
If you feel stuck in your pelvic floor rehab, or you're unsure how to bring the pelvic floor into your training (or your clients' training), this post is for you. Below are my top 10 tips for building an athletic pelvic floor, each with a short video so you can feel the concept in your own body.
What is the pelvic floor, and why should we care?
The pelvic floor is an often overlooked group of muscles nestled between the two pelvic bones. It supports the organs above, helps with continence, and provides stability as a deep player in your core system. It works alongside the thoracic diaphragm to manage intra-abdominal pressure, and when it isn't functioning well, we often see a "leak" in the system in both women and men.
Like most other muscles, the pelvic floor is made up of both slow and fast twitch fibers. That means it can support you through longer, lower-effort activities as well as activities that ask it to respond quickly. Most people have a harder time with the second part, and that's exactly where athletic training lives.
Anytime you lift, sprint, jump, or even sneeze, your pelvic floor is working to support you and coordinate with the rest of your body. If you're an athlete looking to build performance and power, the pelvic floor needs to be part of your training. The question is how to move beyond rehab-based drills and breathing into higher-level performance and competition.
After working with hundreds of athletes and coaches, I have created my own unique lens for pelvic floor progression, exercise selection, and getting someone off the ground and on their feet (and jumping) as fast as possible.
After all, this is where life happens.
Here's how I think about that progression.
Top 10 Tips for an Athletic Pelvic Floor
1. Coordinate the breath and rib cage with the pelvic floor
Don't skip this one. A deep core system that works well together is the foundation of a strong core and pelvic floor. The ebb and flow of pressure between the diaphragm and the pelvic floor is what unlocks deep core coordination and stability, and it's the baseline for every athlete.
2. Tilt the pelvis forward and back without the ribs flaring
Start lying on your back, then progress to all fours. The goal is to isolate movement of the pelvis without the rib cage flaring along with it. This small movement becomes important in bigger lifts like the squat and deadlift, when we go after that tiny twerk. 😉
3. Add the breath
Once you're comfortable with the tilt, start playing with the breath. Feel the pelvic floor contract and relax in each position, tuning into both the front (anterior) and back (posterior) pelvic floor.
4. Hip shift and glide the femur back in the hip socket
Hip shifting can make a big difference for happy hips, low back tension, and pelvic floor function, and it's a step many programs miss. When we shift into a hip, we're better able to load the glutes and propel forward. You can start with the all fours variation in the video and progress it from there into your strength programs.
5. Lengthen through the posterior pelvic floor
A tight posterior hip or pelvic floor can make an SI joint unhappy and make hinging exercises feel challenging. This isn't only something I see postpartum. I regularly see it in men too. In a hinge, we need to create space between the sit bone and the sacrum. When that space isn't available, the body finds another option, and we may see a hip hike, a rib cage pushed forward, or overtucking.
6. Coordinate the breath in regular strength exercises
Now we start connecting the breath and pelvic floor movement through different ranges of your lifts. The goal is to control the position of the pelvis and rib cage as you move and to start building confidence under load.
7. Dynamically yield with an inhale
This is where we start adding speed. Can you let your body go and dynamically yield as you inhale, allowing pressure to come down? The tempo changes ask more of the pelvic floor's responsiveness, but we aren't leaving the ground quite yet.
8. Overcome with an exhale
The next step is to dynamically overcome those yielding forces and propel forward. As you exhale, push pressure up and get explosive. Yielding and overcoming work together, and learning both is what helps you catch, load, and propel.
9. Perform plyometrics that build confidence through yielding
Get sinky and allow pressure to come down into the pelvic floor as you land. I love low squat jumps and backward hops for this. They're a great way to start leaving the ground while still emphasizing the yield.
10. Progress to overcoming plyometrics that create more stiffness
From there, we work toward more reactive, springy plyometrics that ask the pelvic floor to respond quickly, working up to pogos. This is where you get to feel how athletic and responsive the pelvic floor can be.
You can also watch all 10 tips together in the YouTube playlist.
How the tips fit together
These tips build on one another. The breath and rib cage come first, then pelvic motion, then hip and posterior pelvic floor mobility, then strength, speed, and finally plyometrics. There's no prize for rushing through the early steps. If something feels hard to access, that's useful information from your body about where to spend a little more time.
Go deeper with the free Pelvic Floor in Motion course
If you want to learn how to take these ideas further, and how to progress clients appropriately from base rehab to return to sport, I walk through all of these steps and more in my free mini course, Pelvic Floor in Motion: Building an Athletic Pelvic Floor.
The course takes an inside-out approach, beginning with the diaphragm and the breath and how they influence movement. It includes 8 days of content with 5 modules and 20 exercises to help you become stronger from the ground up, plus a recorded Q&A answering questions from over 3,000 participants of the first course.
Here's what we cover:
- Anatomy and biomechanics of the pelvic floor: orientation of the pelvis versus relative motion within the pelvis, plus the four quadrants of the pelvic floor and positions that lengthen and shorten each one.
- Coordinating the breath and posterior pelvic floor release: feeling pressure move up and down, breathing strategies for wide and narrow rib cages, and creating space in the back of the pelvic floor.
- Beginner and intermediate exercises: using regular strength exercises to train the pelvic floor, then adding more movement and rotation.
- Dynamic exercises: adding speed with dynamic yielding and dynamic overcoming.
- Plyometrics: a taste of what a responsive, athletic pelvic floor feels like.
This course is for coaches, therapists, movement professionals, and anyone interested in human movement who:
- Values a whole-body approach
- Wants to understand how the pelvic floor is affected by, and supports, the rest of the body
- Wants to learn how to program effectively to prevent pelvic floor symptoms like prolapse, leaking, pelvic pain, back pain, and heaviness
- Is interested in helping clients move beyond rehab and breathing drills to build a more athletic, capable body
The course is free and self-paced, so you can start whenever you're ready.
Join the free Pelvic Floor in Motion mini course
I hope it helps you bridge the gap between rehab and athletic performance, and helps you (and your clients) move the way you want and feel empowered in your bodies.
