Why You Can't Feel Your Glutes (and What to Do About It)
Nov 10, 2026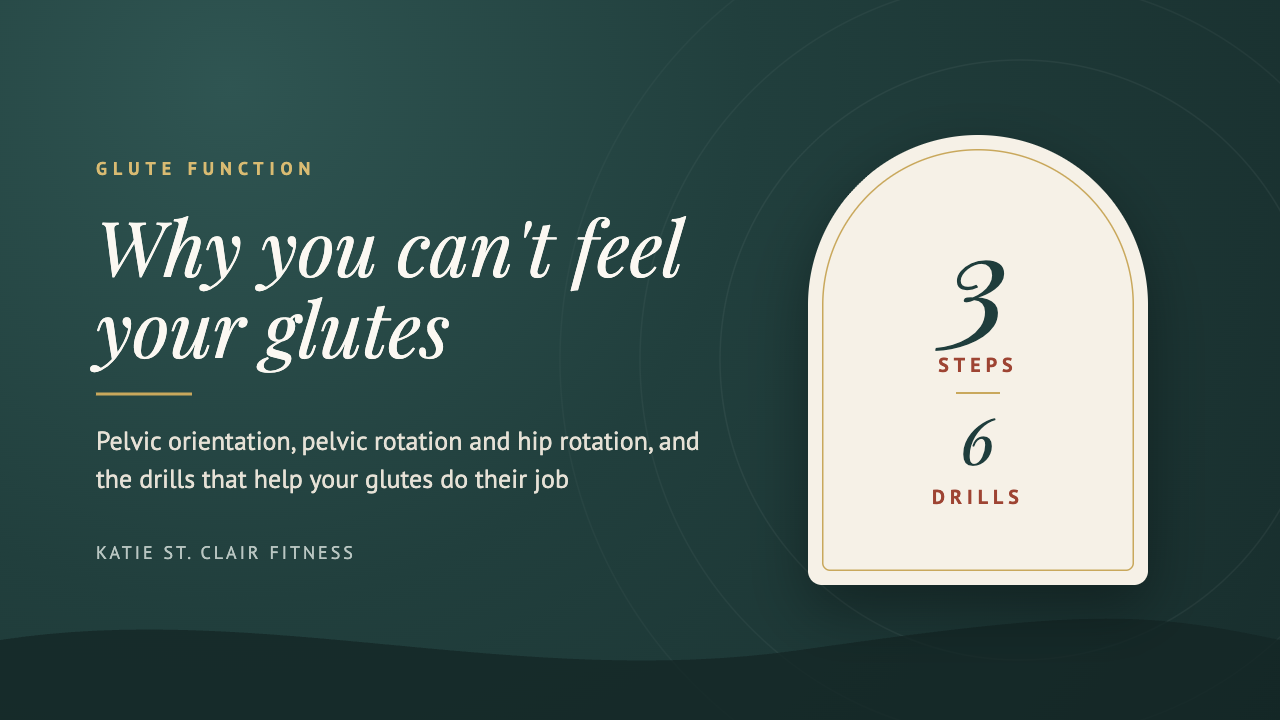
If you've been told you have lazy glutes, or you go through a whole set of bridges and feel everything except your glutes, the problem may not be effort. It may be access.
Your glutes can only work through the ranges your pelvis and hips can actually get into. When the pelvis gets stuck in one orientation, it takes up the range the glutes need to contract fully, and other muscles end up doing the work instead.
In this post (and the video that goes with it), I'll walk through how to look at this through a biomechanical lens: the orientation of the pelvis, the rotation of the pelvic bones, and rotation at the hip itself. Each step comes with two exercises so you can feel the difference in your own body.
Two sections of the glutes
I like to keep it simple and think of the glutes in two sections.
- The anterior or side glutes: glute med and the anterior part of glute max. These help stabilize the pelvis, especially when the hip is flexed.
- The posterior glutes: mostly glute max, along with some of the deep hip external rotators. These do their best work when the hip is fully extended.
To get a full contraction of the posterior glutes, the pelvis needs to be able to orient slightly back, into a posterior orientation. In hip-flexed positions like a hinge or a squat, the pelvis needs to orient slightly forward. That gives the posterior glutes length and lets the side glutes stabilize.
So you need access to both. If the pelvis can only live in one of those positions, one section of the glutes is going to be much harder to feel.
Step 1: The orientation of the pelvis
Your hip range of motion can tell you a lot about where your pelvis tends to live.
If you're limited in hip internal rotation, your pelvis is likely sitting in more of an anterior orientation, which takes up the internal rotation you have available. If you're limited in hip external rotation, your pelvis is likely in more of a posterior orientation. The drills below help you get into the position you're missing, so you have more range to move into.
Long lever bridge with arm reach (for more hip internal rotation)
This one helps you find more of a posterior orientation.
- Lie on your back with your feet on the floor in a long lever bridge position. Scoot back slightly, tuck your pelvis under and reach your arms toward the ceiling.
- Exhale and set your ribs down.
- Peel yourself off the ground without arching through your low back. You should feel your hamstrings and glutes working.
- Inhale as your arms reach overhead, then exhale as they come back down.
Repeat for about 15 breaths.
90/90 on the wall with arm reach (for more hip external rotation)
This one helps you find a more neutral spine and a slightly anterior orientation.
- Lie on your back with your feet on the wall, hips and knees at 90 degrees.
- Tilt your pelvis under and back out a few times. Notice your sit bones: they come closer together as you tuck and widen as you tilt slightly forward.
- Settle into the slightly forward, more neutral position and reach your arms toward the ceiling.
- Inhale, then exhale and bring your ribs down and back without tucking your pelvis under. A small towel roll under your low back can help if this is hard to find.
- Keeping tension in your abs, inhale as your arms go slightly overhead, then exhale as your ribs come down and back.
Repeat for several slow breaths.
Step 2: The rotation of the pelvic bones
Once the pelvis can orient forward and back, the next layer is the rotation of the pelvic bones themselves.
When the pelvic bones can rotate inward, you have better access to the side glutes. When they can rotate outward, you have better access to the posterior glutes. A pelvic bone that sits more externally rotated takes up space for internal rotation at the femur, and one that sits more internally rotated takes up space for external rotation.
Side-lying compression with knee lift (pelvic internal rotation)
This drill closes the inlet and opens the back of the pelvis. You'll need a medicine ball or a plate. I use about 20 lbs, but you don't need to go that heavy.
- Lie on your side with your feet on the wall, hips and knees at 90 degrees. Make sure your feet aren't too far back.
- Place the ball on the top of your pelvis (not on your hip) and hold it with your top hand.
- Extend your top knee forward.
- Lift your bottom knee off the ground.
- Hold, inhale, then exhale as your ribs come down and in.
Hold for 5 to 10 breaths without letting the bottom knee drop. If that's too hard, start by exhaling as you lift the knee and inhaling as you relax.
Kneeling side plank with band (pelvic external rotation)
This drill widens the inlet and focuses on glute max.
- Place a band around your knees and set up in a kneeling side plank, with your hips in about 30 degrees of flexion and your feet together.
- Lift your waist off the ground.
- Open your knees wide against the band. You should feel a constant contraction in the back of your pelvis and lower glutes.
- Inhale as you lower, then exhale as you lift, letting your rib cage come down and in. Hold the top until all the air is out.
Do about 10 reps on each side.
Step 3: Hip internal and external rotation
With the pelvis moving better, you can train rotation at the hip directly, first with the hip extended and then with it flexed.
Standing banded hip rotation (hip extended)
Use a band with an ankle strap so it doesn't slide up your leg, or a cable if you have one. A foam roller or wall helps with balance.
External rotation:
- Stand with the band pulling your foot outward and bring your knee up to 90 degrees.
- Exhale and set your rib cage back so your hip stays underneath you in a more neutral, hip-extended position. It's okay if your knee comes forward a little.
- Pull your foot across without letting your knee drift out. This rotates the femur outward and works the external rotators and posterior glutes on the back of the hip.
Internal rotation:
- Step to the other side of the band so it pulls your foot inward, and bend your knee. Keep your knees about hip width apart.
- Set your ribs again so you stay hip extended.
- Rotate your foot out, which drives the femur into internal rotation, then return to neutral. You'll feel the side glutes and the front of the hip working.
Do 15 to 20 reps of each.
Banded hinge rotation at the wall (hip flexed)
Here the pelvis rotates around the femur in a hinge, so you get internal and external rotation of the hip in 60 to 90 degrees of flexion.
- Place a band around your knees and stand next to a wall on one leg, with the inside knee bent. Keep your knees in line with each other so you don't lean back.
- Shift your weight to the middle of your foot.
- Exhale your ribs back, then hinge forward, widening your sit bones.
- Drop the bent knee below the standing knee. That's hip internal rotation, and you'll feel more of the side glutes.
- Rotate all the way back up against the band. That's external rotation, and you'll feel more of the posterior glutes. Don't let your standing knee cave in, and don't let your hip hike up.
Do about 10 reps on each side.
Choosing what your body needs
You don't have to do every drill every time. The ones that feel hardest are useful information.
If the kneeling side plank felt hard to hold with your knees open, your body may need more of that position. If it was hard to get your ribs down and back in the 90/90 position without tucking your pelvis, that may be the area to spend more time on. Add the drills that feel weakest into your routine for a couple of sets of 10 to 15 reps, or move through all six as a sequence.
Once your pelvis and hips can move through these ranges, your glutes have room to do their job, and you'll likely start feeling them in exercises where they used to stay quiet.
Keep exploring
Train your glutes and pelvic floor with me in Alchemy Strength, in the Empowered Fitness Membership, or learn the full approach in my 12-week course, Empowered Performance.
